Knowledge Base
How to Create and Manage Email Accounts - WSP
Email Accounts
This article will cover creating, modifying, and deleting email addresses in WebsitePanel.
Create and Email Account
To create an email account:
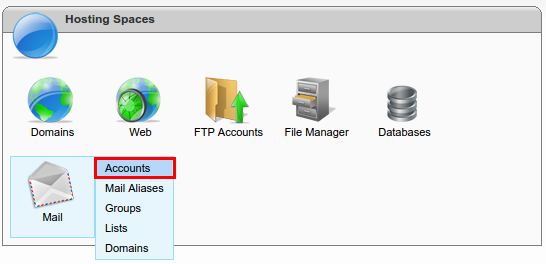
- Log into your WSP Hosting Space.
- Mouseover Mail and click Accounts.
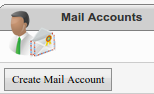
- Click Create Mail Account.
- Provide the following:
- E-mail Address: Create an email address and select the domain using the dropdown menu
- Password: Create a secure password
- Mailbox Size Limit, MB: Set a size for the mailbox in megabytes
- First Name: First name to display in Email correspondence
- Last Name: Last name to display in Email correspondence
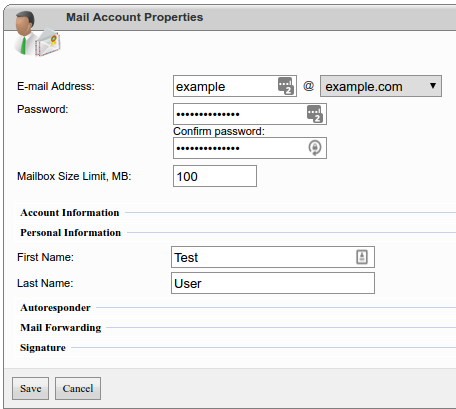
- Navigate to the bottom of the page and click Save.
Modify an Email Account
To modify an email account:
- Log into your WSP Hosting Space.
- Mouseover Mail and click Accounts.
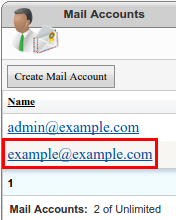
- Click the email address you want to modify.
- Modify the following:
- Password: This field lets you change the existing password
- Mailbox Size: This field lets you increase or decrease the mailbox size in megabytes
- Mailbox Enabled: This checkbox allows you to turn the email address on or off
- Autoresponder: This section allows you to create an automatic response if you are not available
- Autoresponder Enabled: This checkbox turns the autoresponder on or off
- Subject: This field contain the subject of the email
- Message: This is the main body of your email
- Autoresponder Expires: This checkbox allows you to automatically turn off the autoresponder
- Autoresponder Expire Date: This field let's you specify when to automatically turn off the autoresponder
- Mail Forwarding: This section allows you to forward you email to another email address
- Forwarding Enabled: This checkbox allows you to turn mail forwarding on or off
- Forward mail to address: This field let's you specify a forwarding email address
- Keep original Message: This checkbox allows you to save a copy of the original message in the originating inbox prior to forwarding to another email address
- Signature: This section allows you to create a footer for all email correspondence(e.g. your contact information)
- Signature Enabled: This checkbox allows you to turn your email signature on or off
- Plain Text Signature: This field allows you to create a plain text signature and HTML tags are not parsed in this field
- HTML Signature: This field allows you to use HTML tags in your signature for additional customization
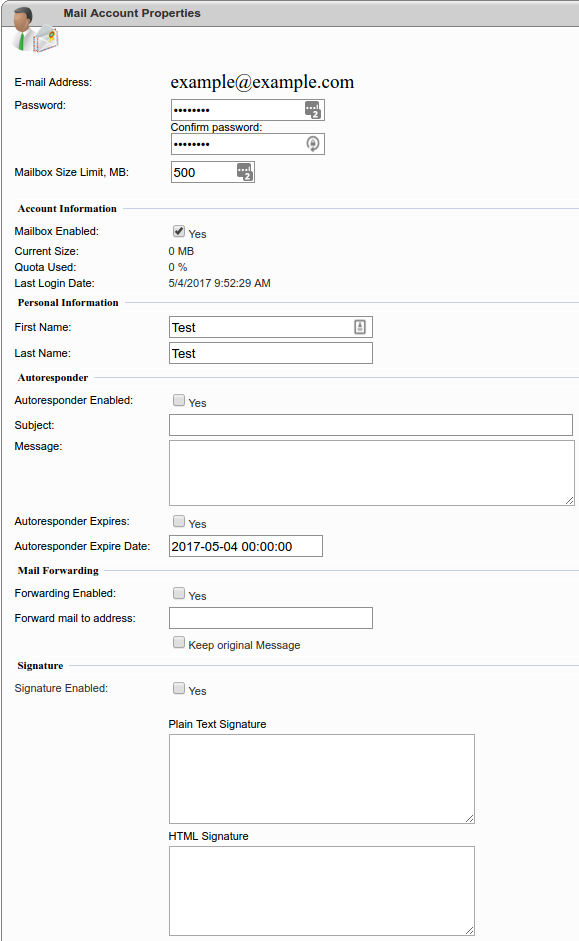
- Navigate to the bottom of the page and click Save to save your changes.
Delete an Email Account
To delete an email account:
- Log into your WSP Hosting Space.
- Mouseover Mail and click Accounts.
- Click the email address you want to delete.
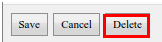
- Navigate to the bottom of the page and click Delete.
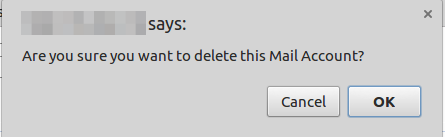
- Click OK in the dialog box to confirm the deletion.
Did you find this article helpful?