Knowledge Base
How to Create and Modify Scheduled Tasks - WSP
If you have a repetitive task or need to run scripts at a specific time, you can use Scheduled Tasks in WebsitePanel to automatically execute the task/script for you.
Create a Scheduled Task
To create a Scheduled Task:
- Login to your WebsitePanel Hosting Space.
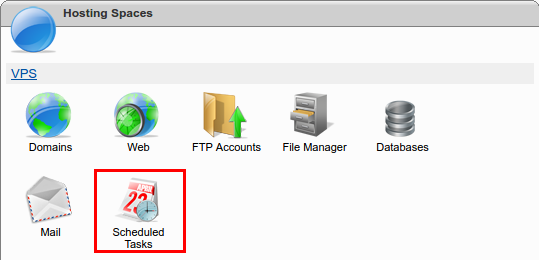
- Click Scheduled Tasks under Hosting Spaces.
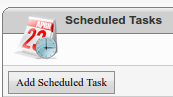
- Click Add Scheduled Task.
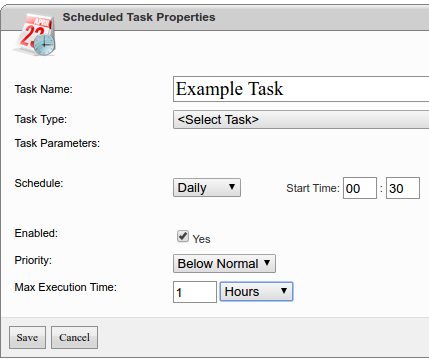
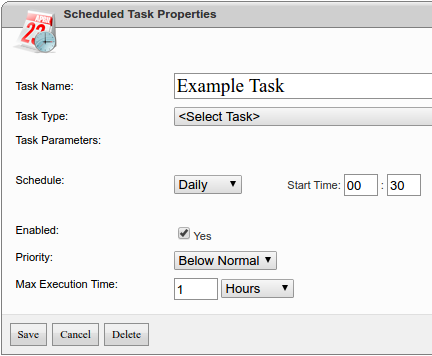
- Name your task under Task Name.
- Use the dropdown menu to select your Task Type(Backup Database, Check Web Site Availability, Send Files via FTP, Send E-Mail Notification, Zip Space Files) and provide the following Task Parameters:
- Backup Database
- Database Type: This dropdown menu let's you select the type of database you want to backup(MS SQL or MySQL).
- Database Name: This field allows you specify which database you want to backup.
- Backup Folder: This field allows you specify where to store the backup.
- Backup File Name: This field lets you specify a name for the backup.
- Zip Backup?: This dropdown menu allows you choose to whether or not you want to compress the database backup to save space.
- Check Web Site Availability
- Response Status equals to: The checkbox allows you turn this filter on or off, and the text field provided allows you to enter a HTTP status code.
- Response content contains: The checkbox allows you turn this filter on or off, and the field provided allows you trigger this filter if the response contains the specified data.
- Response content doesn't contain: This checkbox allows you turn this filter on or off, and the field provided allows you to trigger this filter if the response doesn't contain the specified data.
- URL: Enter your target URL in this field.
- Access Username: Provide a username if required.
- Access Password: Provide a password if required.
- Mail From: Enter the sending email in this field.
- Mail To: Enter the receiving email in this field.
- Mail Subject: Enter a subject for the email.
- Mail Body: Enter your message in this field.
- Send Files via FTP
- Space File: This field allows you to specify which folder or file to send.
- FTP Server: Enter the FTP server name or IP address.
- FTP Username: Enter the username for the FTP Server.
- FTP Password: Enter the password for the FTP Server.
- FTP Remote Folder: This field let's you specify where to receive the file on the FTP server.
- Send E-Mail Notification
- Mail From: Enter the sending email address in this field.
- Mail To: Enter the receiving email in this field.
- Subject: Enter a subject for the email.
- Mail Body: Enter your message in this field.
- Zip Space Files
- Space Folder: This field allows you to select a folder or file to compress.
- Zip File: This field allows you to specify where to store the compressed file.
- Backup Database
- Schedule: This setting allows you to set how often and what time to run the task.
- Enabled: This checkbox allows you to turn this task on or off.
- Priority: This setting tells the server how much server resources to allocate to the task.
- Max Execution Time: This setting allows you to set how long the task can run once activated.
- Click Save to create the Scheduled Task.
Modify a Scheduled Task
To modify a Scheduled Task:
- Login to your WebsitePanel Hosting Space.
- Click Scheduled Tasks under Hosting Spaces.
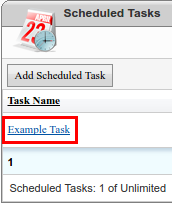
- Click the Task you want to modify under Task Name.
- Modify the Task Parameters.
- Click Save to save your changes.
Delete a Scheduled Task
To delete a Scheduled Task:
- Login to your WebsitePanel Hosting Space.
- Click Scheduled Tasks under Hosting Spaces.
- Click the task you want to delete under Task Name.
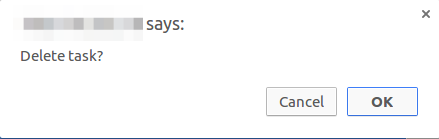
- Navigate to the bottom of the page and click Delete.

- Click OK in the dialog box to complete the deletion.
Did you find this article helpful?